
The hammer's evolution since 2024
The hammer throw in Ultimate Frisbee isn’t a new invention. Players have been experimenting with overhead throws for years. However, the last two seasons have seen a dramatic shift in its usage, moving it from a flashy trick shot to a reliable, even expected, weapon in the arsenal of competitive players. What changed? Refinement of technique, increased understanding of its strategic applications, and a willingness to incorporate it into standard offensive sets are all contributors.
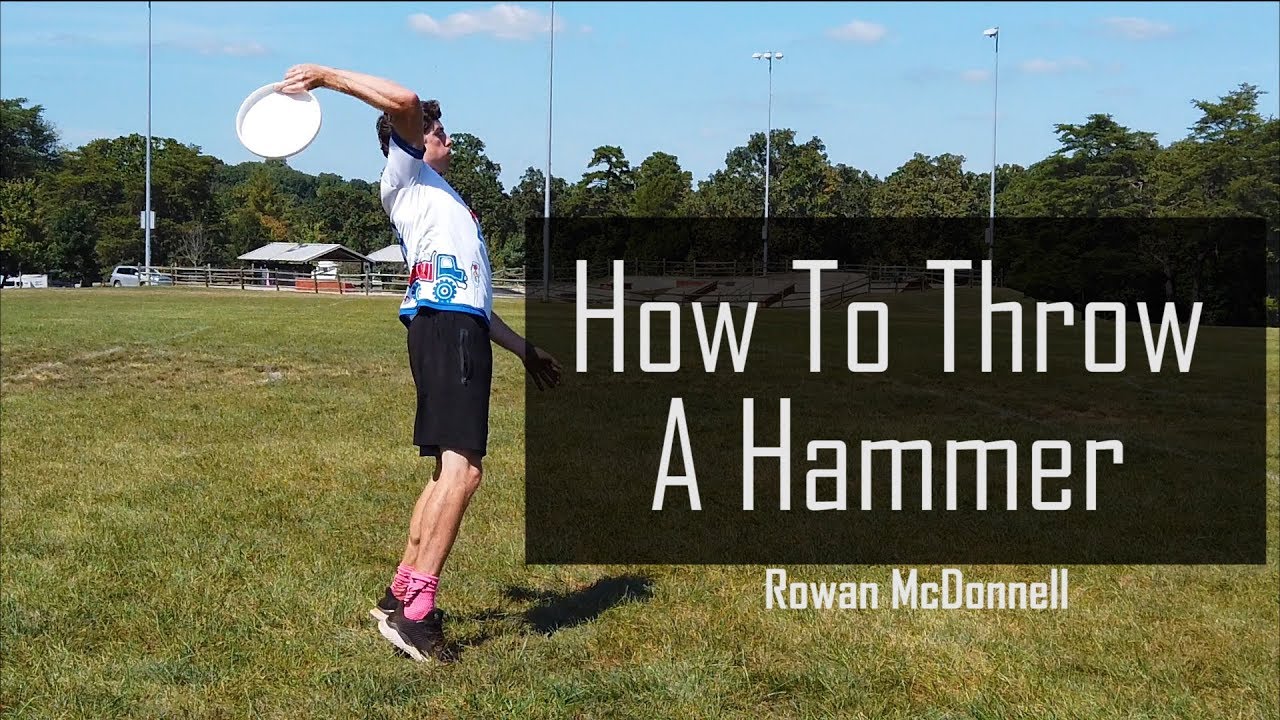
Early tutorials, like those from Rowan McDonnell at Excel Ultimate back in 2019 (youtube.com), laid the groundwork, but the throw has evolved significantly since then. Players are now generating more spin, achieving greater accuracy, and consistently throwing hammers further distances. We've moved past simply being able to do a hammer; now it’s about doing it effectively and predictably under pressure.
If you can already complete the basic motion, you're ready to refine the nuances. The difference between a floaty turnover and a game-changing break lies in the release velocity and how you use your core to stabilize the disc under pressure.

Grip and wrist mechanics
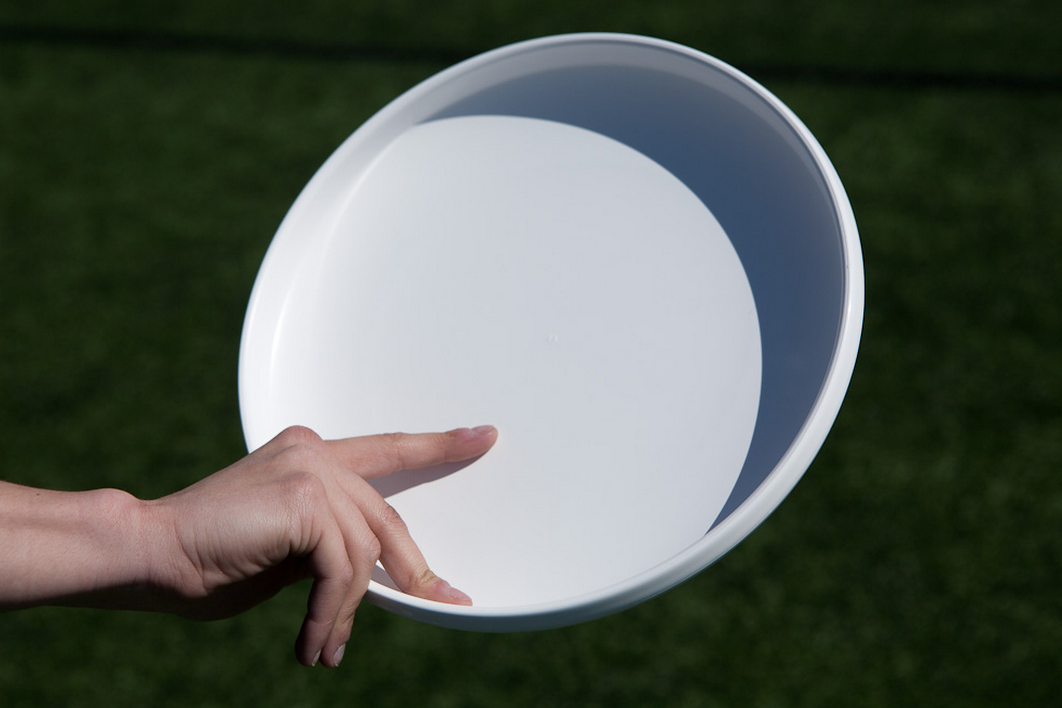
The grip is where many players go wrong. It's incredibly subtle – too tight, and you lose finesse; too loose, and you lose control. Most players default to a power grip, wrapping all their fingers around the rim. This is fine for generating distance, but for accuracy and spin, a finesse grip is often superior. A finesse grip involves a lighter hold, with the disc resting more on the fingertips and palm.
Wrist action is even more critical. Forget the idea of simply "snapping" your wrist. It's a multi-phased motion. First, you need a full wrist cock – a significant bend backward. Then, a rapid acceleration through the release point, focusing on generating spin rather than just force. Think of it like cracking a whip; the power comes from the acceleration, not the initial force.
A common mistake is leading with the elbow. This limits wrist motion and reduces spin. Another is collapsing the wrist at the release point. This causes the disc to wobble and lose accuracy. Practice slow-motion drills, focusing on maintaining a stable wrist throughout the entire motion. Record yourself and compare your form to videos of elite players.
Body positioning and footwork
The hammer isn't an isolated arm movement; it's a full-body throw. A strong core is essential for transferring power from your legs to your arm. A balanced stance, with your weight centered, is also crucial. Many players lean back too much, sacrificing power and accuracy. Think about maintaining a slight forward lean throughout the throw.
Footwork is often overlooked, but it's a huge component. When throwing on the run, focus on planting your pivot foot firmly and transferring your weight forward. A proper step-through motion helps generate power and maintain balance. From a standstill, a small hop or step can help initiate the throw and add momentum.
Body positioning directly impacts the break of your throw. Rotating your hips and shoulders towards your target will create a more stable release angle and a tighter break. Experiment with different body angles to see how they affect the trajectory and spin of the disc. A slight shoulder dip can add a surprising amount of power.
Spin rate and disc choice
Spin is paramount with a hammer. More spin translates to greater stability, a tighter break, and increased distance. The release angle and wrist action are the primary determinants of spin rate. A cleaner release, with a more forceful wrist snap, will generate significantly more spin. Practice focusing on maximizing spin, even at the expense of initial distance.
Disc choice matters considerably. Heavier discs generally hold spin better, making them a good option for hammers. However, they can be more difficult to control, especially for players with less arm strength. Plastics also play a role. Softer plastics tend to absorb more of the impact, reducing spin, while firmer plastics provide a cleaner release.
I prefer the Discraft Ultra-Star or the Innova Comet for these shots. Their stability helps fight the wobble that ruins most overheads. You might have a different preference, but start with something that holds its line when flipped upside down.
Disc Suitability for Hammer Throws - 2026 Analysis
| Disc Name | Stability | Spin Potential | Recommended Skill Level |
|---|---|---|---|
| Discraft Ultra-Star | Moderate | Good | Beginner to Intermediate |
| Discraft Jam | Less Stable | Very High | Intermediate to Advanced |
| Innova Comet | More Stable | Moderate | Intermediate |
| Discraft Surge | High | Moderate | Advanced |
| Latitude 64 Grace | Moderate | High | Intermediate to Advanced |
| Discraft Zone | Very Stable | Lower | Advanced - Requires precise technique |
| Innova Wraith | Less Stable | High | Intermediate to Advanced - Potential for distance |
Qualitative comparison based on the article research brief. Confirm current product details in the official docs before making implementation choices.
When to use the hammer
Knowing how to throw a hammer is only half the battle. Knowing when to use it is where you’ll truly elevate your game. The hammer is particularly effective against force flick defenses, as it bypasses the typical throwing lanes. It’s also useful for breaking marks – the quick, overhead release can catch defenders off guard.
However, the hammer isn’t a universal solution. Against a tight, well-disciplined defense, it can be easily shut down. Avoid throwing hammers into double-teams or crowded areas. Pay attention to the defender's positioning and anticipate their movements. If they’re expecting a hammer, look for a different option.
Specific defensive formations to exploit include a 'cup' mark, where the defender is close and trying to force an inside throw. A hammer can go right over their head. Also, against a force backhand, a hammer can create easy gains up the line. The key is to read the situation and make the right decision based on the defensive pressure.
Scoobers and other variations
The hammer isn’t limited to a single form. The scoober, a related throw involving a scooping motion, is gaining traction as a complementary technique. The scoober is faster to release than a traditional hammer, making it effective for quick breaks and tight windows. It also tends to have a flatter trajectory.
Beyond the scoober, some players are experimenting with variations that incorporate sidearm angles or different wrist movements. These are less common, but can add an element of unpredictability. A 'sidearm hammer' can generate a unique break, while a "delayed hammer’ (holding the disc slightly longer before release) can disrupt the defender"s timing.
While these variations aren't yet mainstream, keep an eye out for them in high-level play. The evolution of the hammer is ongoing, and players are constantly finding new ways to exploit its potential. The best players aren’t just mastering the standard hammer; they’re adapting it to their own strengths and the specific defensive challenges they face.
- The scoober offers a faster release and flatter trajectory for tight windows.
- Sidearm Hammer: Unique break.
- Delayed Hammer: Disrupts timing.
Hammer Variations
- Standard Hammer - The foundational throw. Grip the disc with your thumb on top and flick your wrist to generate a rolling motion, resulting in a stable, relatively flat throw. It’s known for its distance and accuracy.
- Scoober - A hybrid between a hammer and a flick. It’s thrown with a similar grip to the hammer, but with more wrist snap and a higher release point, creating a more pronounced hyzer angle and quicker break. Often used for shorter, quicker throws.
- Push Scoober - A variation of the Scoober where the thrower uses more of an outward push with their arm during the release. This creates a flatter release and more consistent flight path, making it useful in windy conditions.
- Sidearm Hammer - Executed with the throwing arm angled more to the side, this variation imparts significant side spin. It's used to create throws that curve sharply in the air, useful for breaking marks or throwing around defenders.
- Overhand Hammer - A less common but effective variation. The disc is released with an overhand motion, similar to throwing a baseball, but maintaining the rolling wrist action of a hammer. This can generate significant power and distance.
- Inside-Out Hammer - This throw starts with the disc positioned further inside the body, then released with an outward motion. It creates a unique spin and flight path, often used to throw around a tight mark.
- Delayed Hammer - The thrower pauses slightly during the throwing motion before releasing the disc. This can disrupt the defender’s timing and create a more deceptive throw.

No comments yet. Be the first to share your thoughts!